
Light through a window designed by Chagall, All Saints Church, Tudeley
Light is of course a fundamental ingredient of any photo and like any such ingredient varying the amount can have considerable consequences for the final result. Its fair to say that I am looking forward to this part of the course (in contrast to the previous part) as I enjoy the scope that photography gives you, to a certain degree, to manipulate light to your own taste.
The above picture is one I took a couple of days ago (and could possibly been ok for the colour assignment had I taken it earlier!) and is a representation of a church window, by the artist Marc Chagall, purely by the light reflected through it. I had to wait a while for the sun to come out sufficiently strongly to get the strength of colour but thought it was worth just shooting this wonderful abstract light as an alternative to the window itself.
Similarly the four photos below, (taken on a tour round Dickens World on the same day as the church one above ) were taken with this part of the course in mind as I wanted, in some of the photos I took, to make the lights, and their effects, the subject of the photos instead of the overall settings and characters :-


I enjoy the ability by varying exposure, to play with the light, and below are a few random and recent examples. With my camera having a live view viewfinder, as opposed to a conventional optical viewfinder, I can see with a fair amount of accuracy what any adjustment to the exposure level is going to produce.

Underexposed rooftop shot to accentuate the green picture

Slight underexposure to get the light from the phone on the face

Underexposure to get cloud more threatening

Overexposure to create a more ethereal image.
Overexposed to lose clouds and background

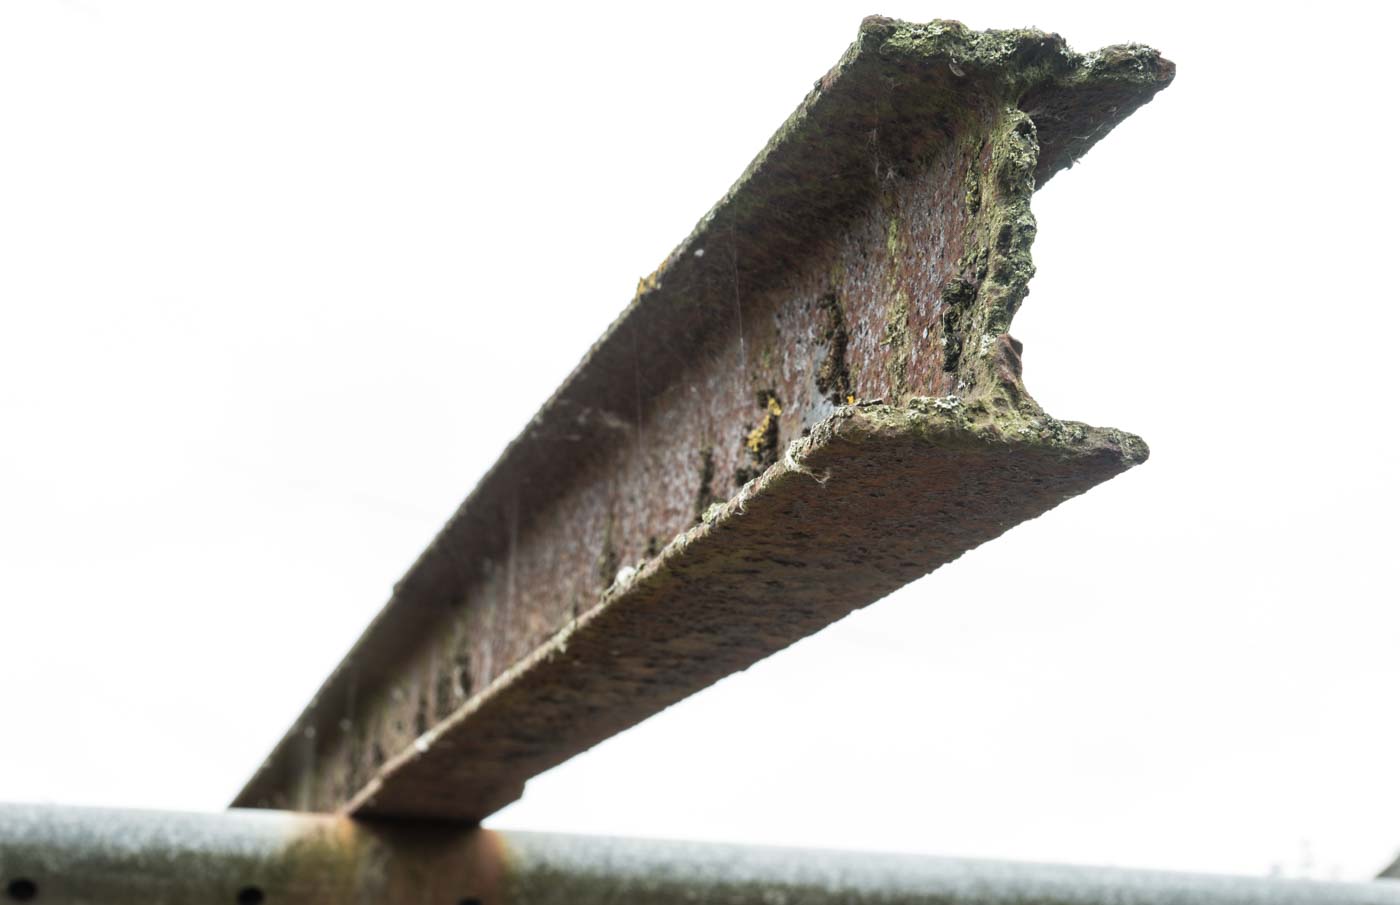
Overexposed to remove background.
Of course changing exposure can be done in Lightroom but its often a good idea to bracket shots (depending on the subject and its mobility) to see which exposure works best and/ or have the option to merge them separate shots into one to get a more detailed image. (I’m talking about exposure mergers here, not some HDR treatment where the colour get seriously messed up) and I notice one of the exercises in this part of the course looks at that.

The church photo is lovely, Richard. Facebook doesn’t do it justice at all.
Thanks Holly
Its difficult to get a different take on the windows as they’ve been photographed so much so I’d thought I’d go with this. See you on the 1st!
Regards
Richard
Yep. Looking forward to it.